Quick installation of Python Apps
First, make sure you have the following tools installed:
- Docker
Step 1: Write your Python program
Create a file named
app.pyin your project directory and add the following code:from flask import Flask, render_template
import mysql.connector
app = Flask(__name__)
def get_data_from_database():
cnx = mysql.connector.connect(
host="java-demo-db-mysql.ns-7otl3mb2.svc",
user="root",
password="l9h8f24b",
database="test_db"
)
cursor = cnx.cursor()
cursor.execute("SELECT * FROM test")
data = cursor.fetchall()
cursor.close()
cnx.close()
return data
@app.route('/')
def index():
data = get_data_from_database()
return render_template('index.html', data=data)
if __name__ == '__main__':
app.run(host='0.0.0.0', debug=True)Create a file named
requirements.txtin the directory to list the dependencies required by the application.
Flask
mysql-connector-python
Create a folder named
templatesin your project directory and create a file namedindex.htmlinside it. Add the following content toindex.html:<!doctype html>
<html lang="en">
<head>
<meta charset="utf-8">
<title>Data from MySQL</title>
</head>
<body>
<h1>Data from MySQL</h1>
<table>
<tr>
<th>Column1</th>
<th>Column2</th>
<th>Column3</th>
</tr>
{% for row in data %}
<tr>
<td>{{ row[0] }}</td>
<td>{{ row[1] }}</td>
<td>{{ row[2] }}</td>
</tr>
{% endfor %}
</table>
</body>
</html>
Replace `Column1`, `Column2`, and `Column3` with the actual column names you want to display.
Step 2: Create a Docker image
Create a file named
Dockerfilein the root directory of the project. This file will contain the instructions needed to build the Docker image. Here is a simple example Dockerfile:FROM python:3.8
WORKDIR /app
COPY requirements.txt .
RUN pip install --no-cache-dir -r requirements.txt
COPY . .
EXPOSE 5000
CMD ["python", "app.py"]
Step 3: Build the Docker image
Run the following command in the directory containing the
Dockerfileto build the Docker image:docker build -t python-demo .
Step 4: Push the Docker image
Push the created Docker image to a Docker repository, such as Docker Hub or a private repository. Assuming that you have logged in to the Docker repository, use the following command to push the image:
First, tag the Docker image. Before pushing the image, you need to add a tag to it so that Docker knows where to push it. Run the following command to add a tag to the image:
docker tag your-image-name your-dockerhub-username/your-repo-name:your-tagReplace
your-image-namewith your local image name,your-dockerhub-usernamewith your Docker Hub username,your-repo-namewith the name of the repository you want to create on Docker Hub, andyour-tagwith the tag you set for the image (e.g. latest).For example:
docker tag python-demo damager6666/python-demo:v1Next, push the Docker image. Use the following command to push the image to Docker Hub:
docker push your-dockerhub-username/your-repo-name:your-tagReplace
your-dockerhub-username,your-repo-name, andyour-tagwith the actual values. For example:docker push damager6666/python-demo:v1
Step 5: Log in to Sealos
- Go to the Sealos website.
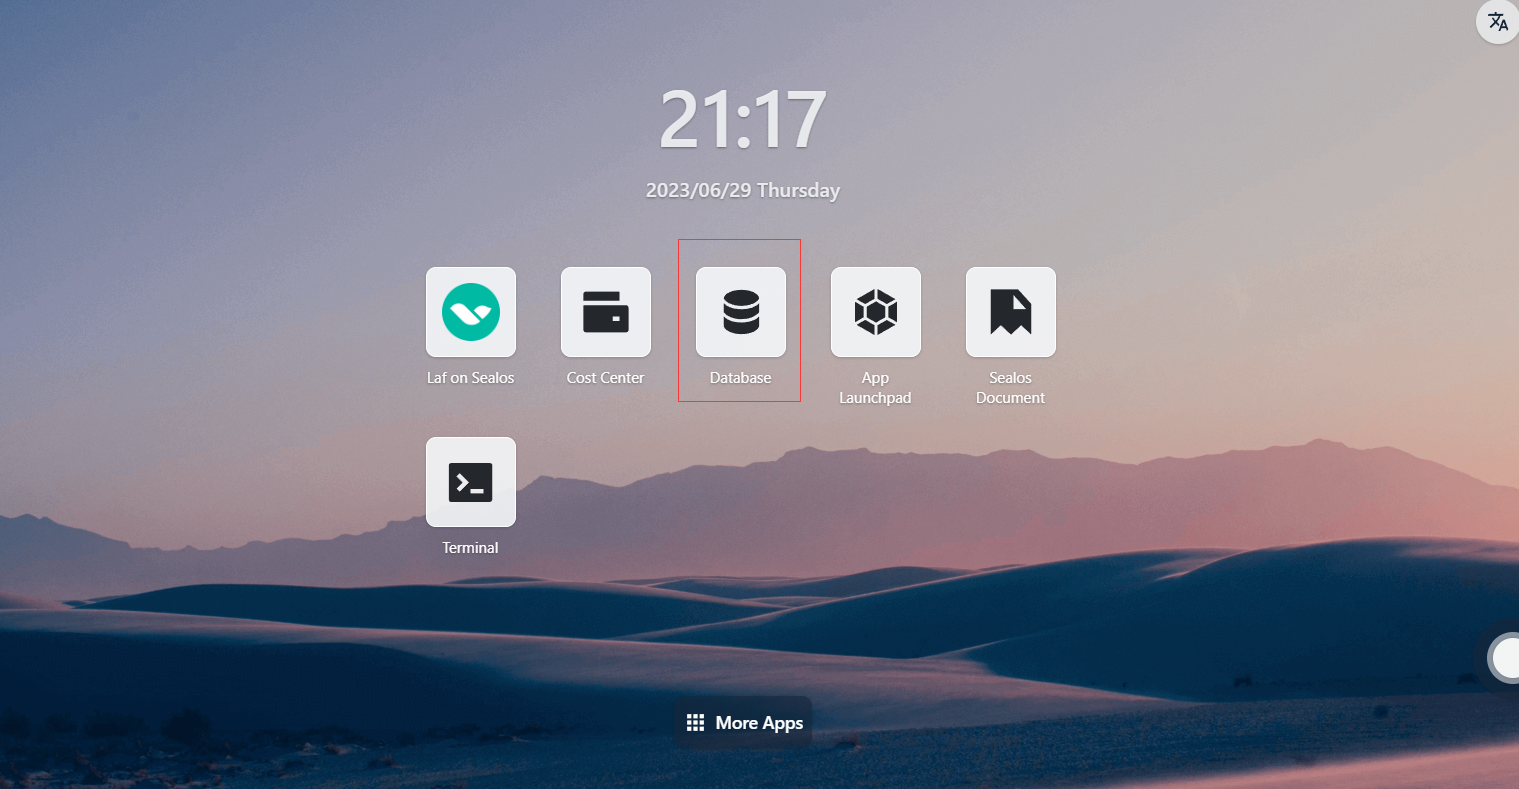
Step 6: Open the "Database" application
Step 7: Create a database
- Click "Create Database"

- Basic Configuration:
- Cluster Type: mysql
- Cluster Name: demo-db
- CPU (Recommended): 1 Core
- Memory (Recommended): 1 G
- Number of Instances: 1
- Storage Capacity: 1 Gi
- Click "Deploy Cluster"
Step 8: Configure the database
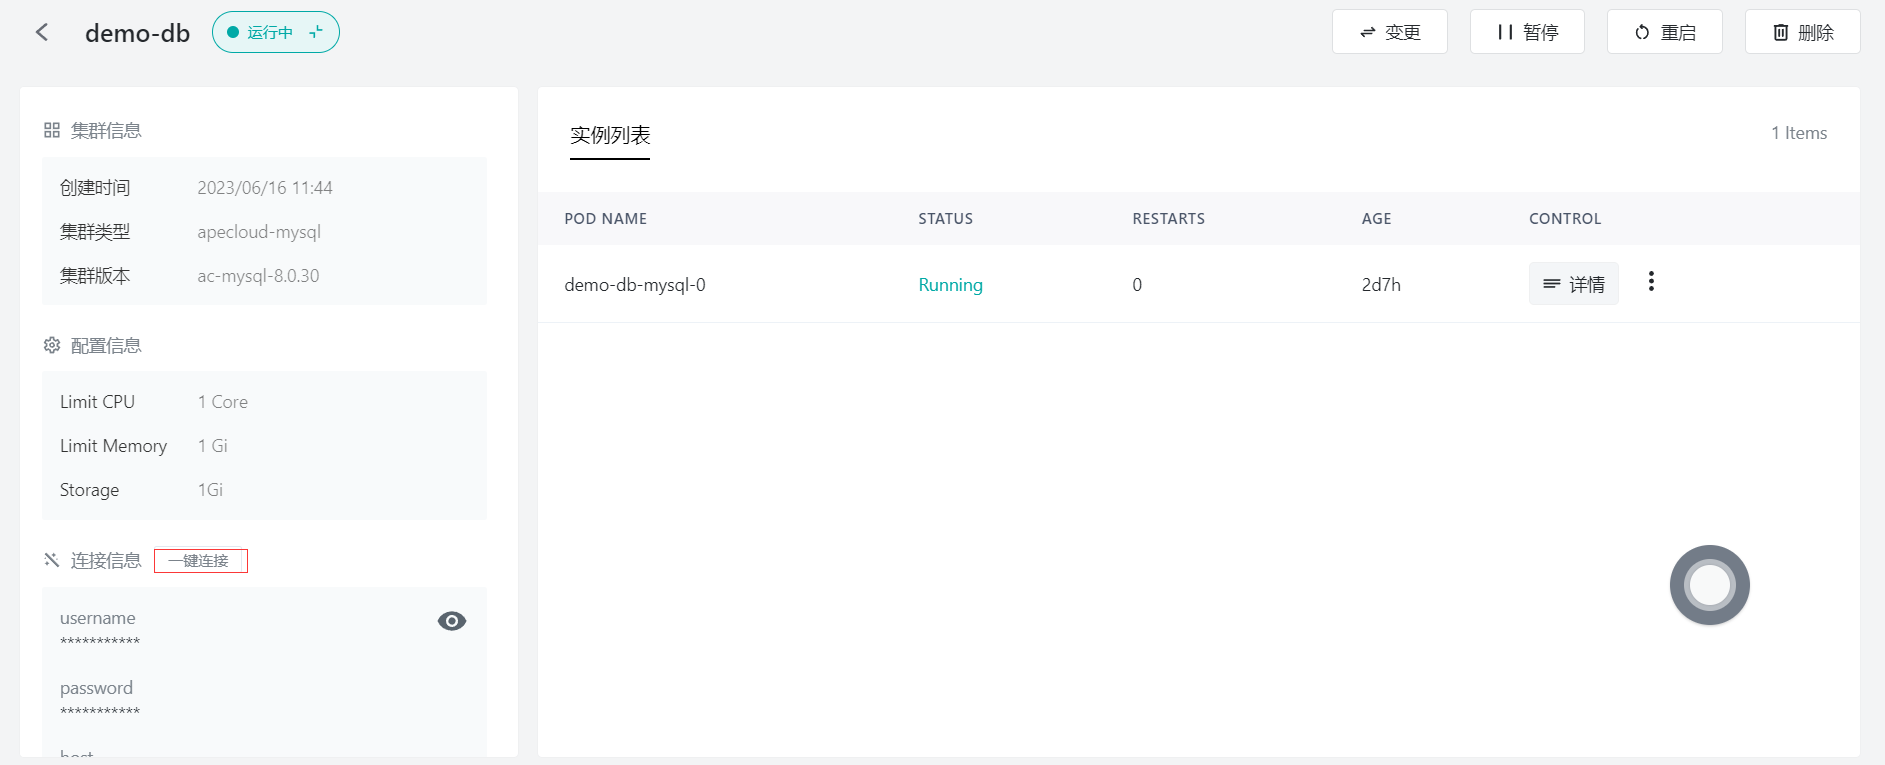
Click "Connect to the Database" and execute the following SQL statements:
Create the test_db database
create database test_db;Create the test table
CREATE TABLE `name_info` (
  `id` int(11) NOT NULL,
  `name` varchar(12) COLLATE utf8mb4_unicode_ci DEFAULT NULL,
  PRIMARY KEY (`id`)
);
Insert data
insert into test values (1,'Sealos');
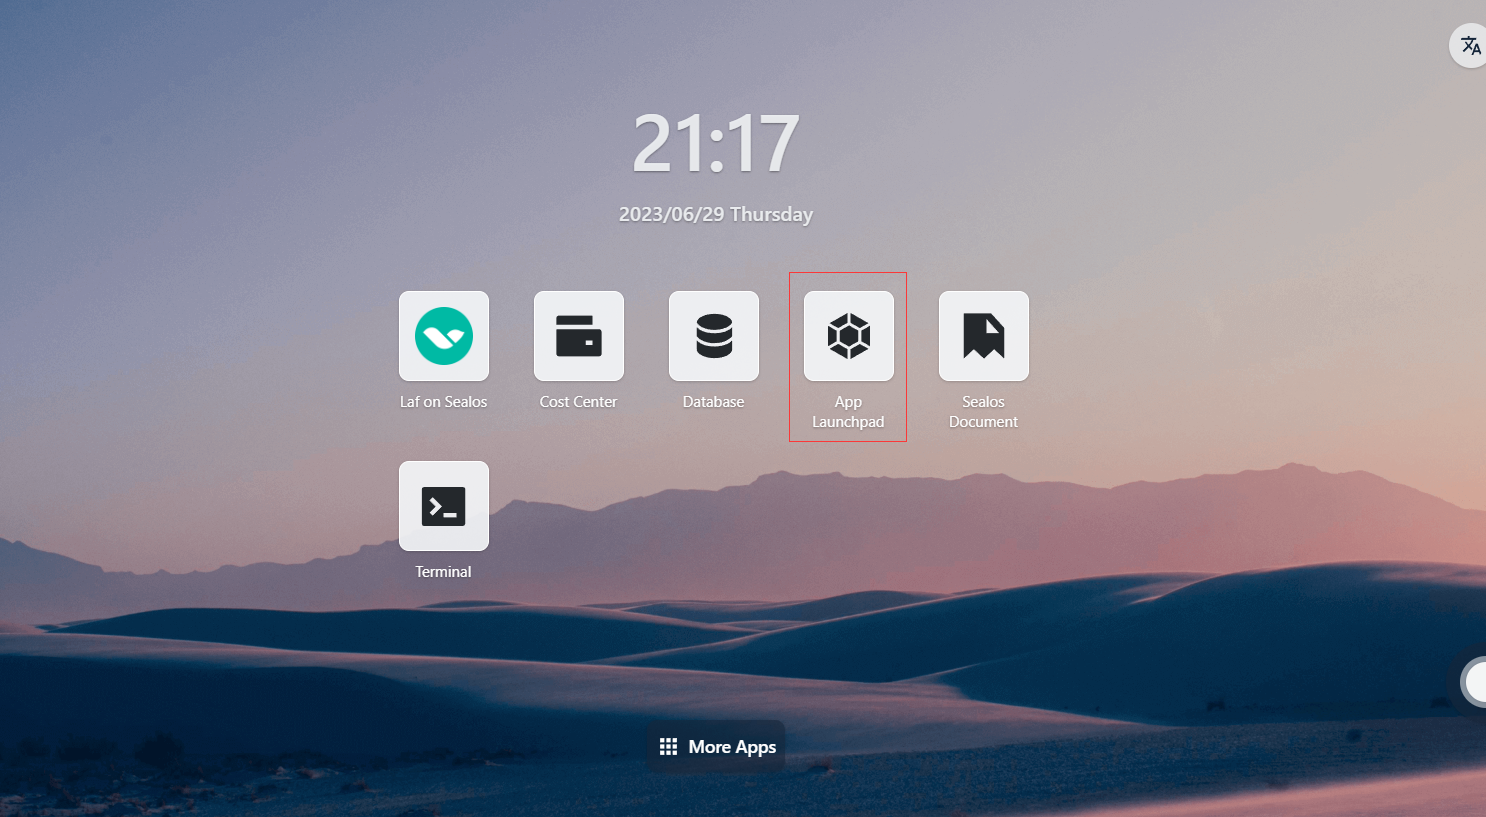
Step 9: Open the "App Management" application
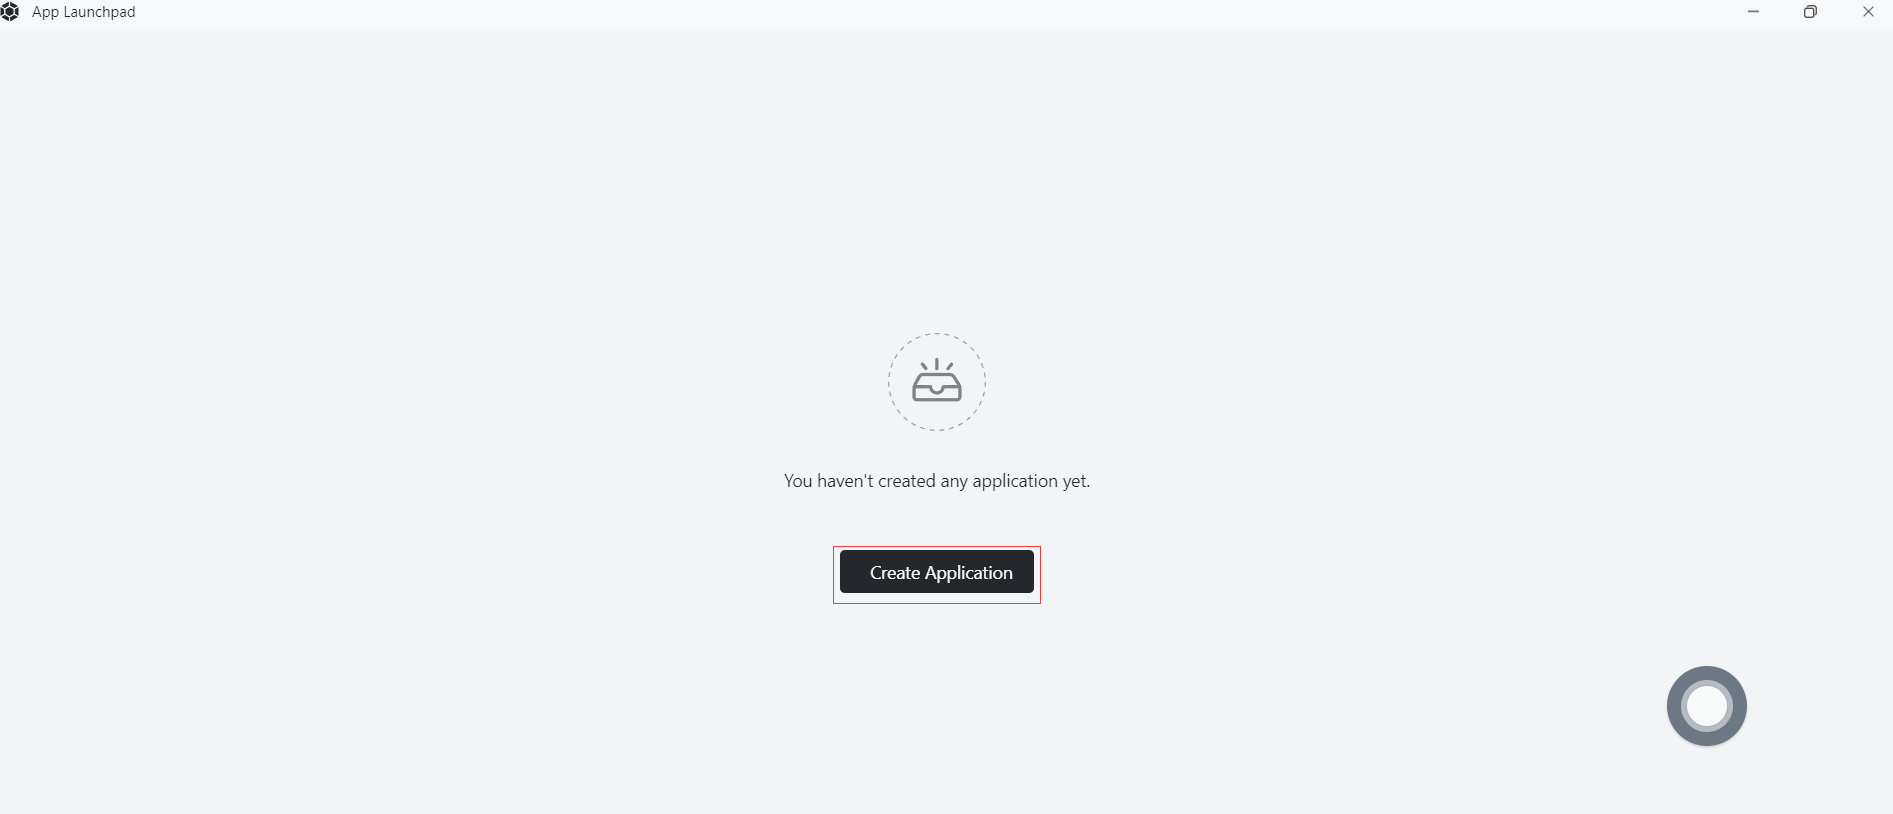
Step 10: Create a new app
- In "App Management", click "New App" to create a new app.
Step 11: App deployment
- Basic Configuration:
- Application Name (Customized): python-demo
- Image Name: damager6666/python-demo:v1
- CPU (Recommended): 1 Core
- Memory (Recommended): 1 G
- Deployment Mode:
- Number of Instances (Customized): 1
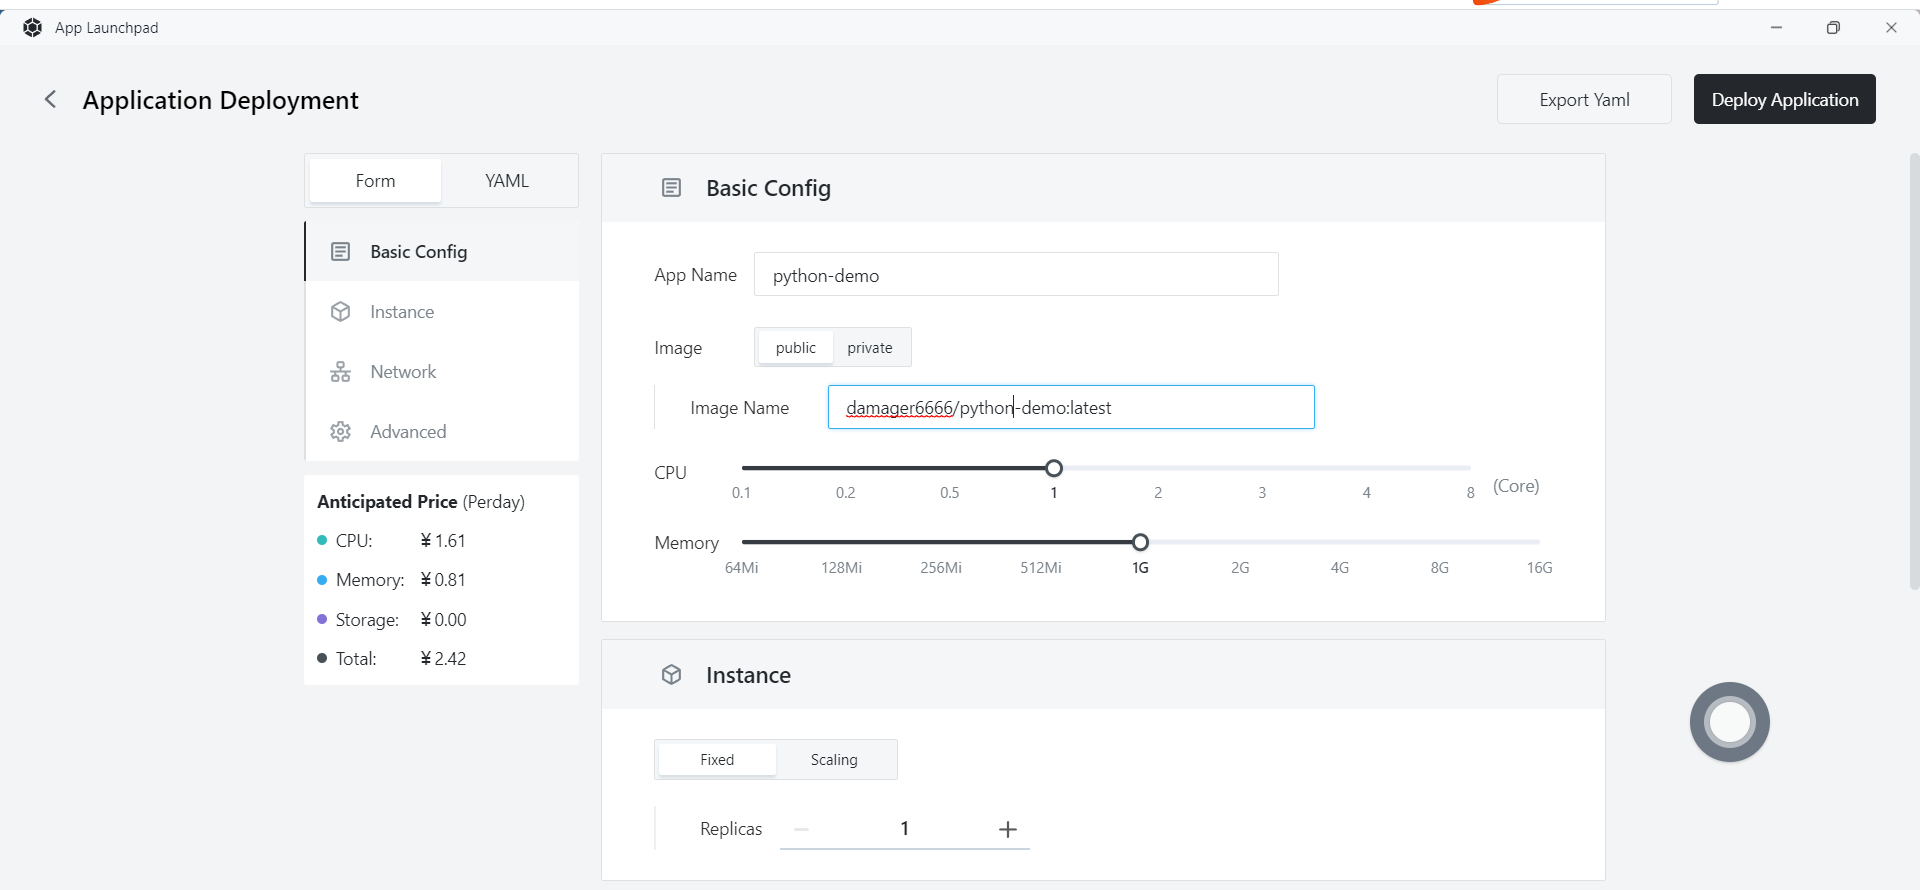
- Network Configuration:
- Container Exposed Port: 5000
- External Access: Enabled
Step 12: Deploy the app

Step 13: Access the app
- Click "App Management" to check when the STATUS of the app changes from "Pending" to "Running", indicating that the app has been successfully launched.
- When the STATUS is Running, you can directly access the external network address.
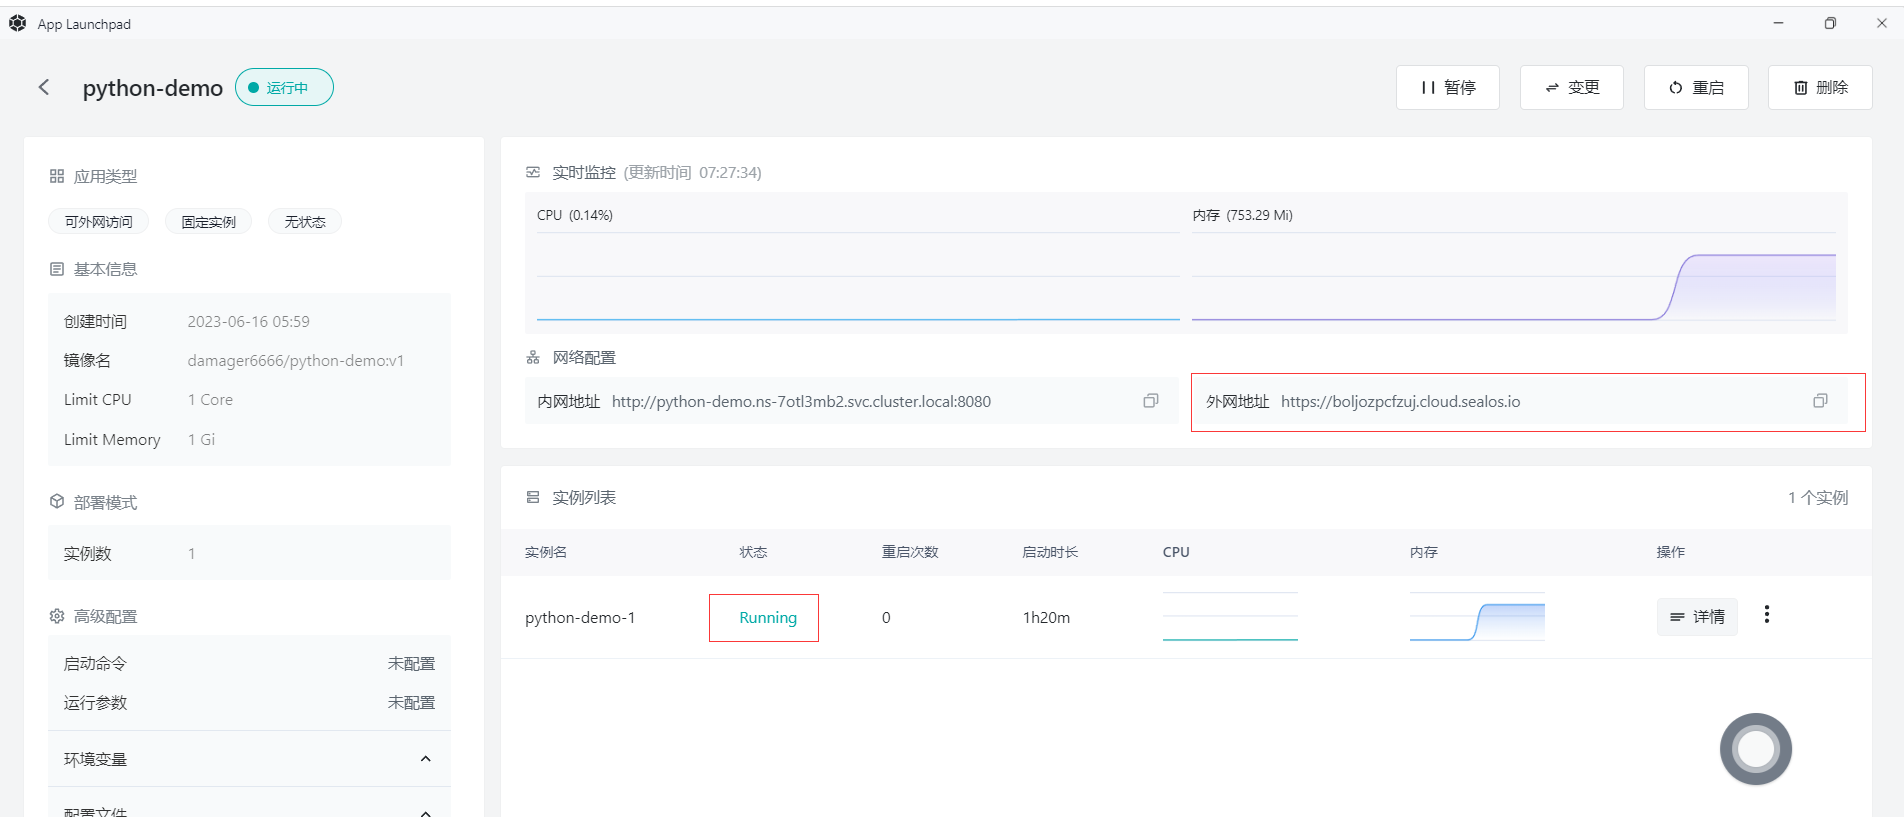
Enter the external network address in the browser to access the data that was just stored in MySQL, indicating that the program has been successfully deployed on Sealos.
https://mkqreaqfgwac.cloud.sealos.io/
